Skip to primary navigation
Skip to main content
Skip to primary sidebar
Skip to footer
Home
Recipes
Shop
Travel
About
Search
menu icon
search icon
Search
Home
Recipes
Shop
Travel
About
×
Dinner
Porotos con Riendas (Chilean Beans with Reins)
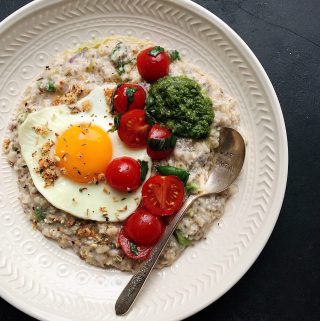
Savory Oatmeal Bowls (Microwave Friendly)
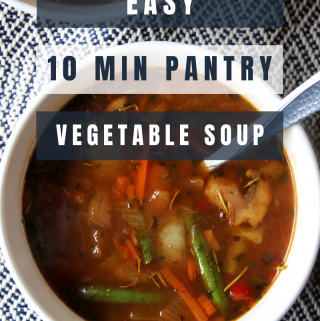
Easy 10 Minute Pantry Vegetable Soup
Creamy Chana Masala with Turmeric Rice
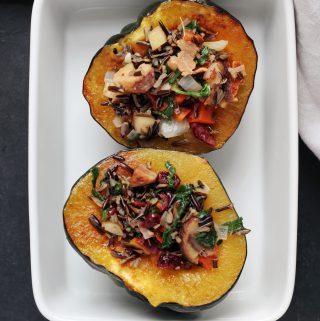
Wild Rice and Chestnut Stuffed Acorn Squash
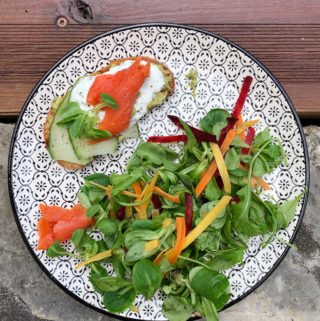
Easy Smoked Salmon and Avocado Tartine
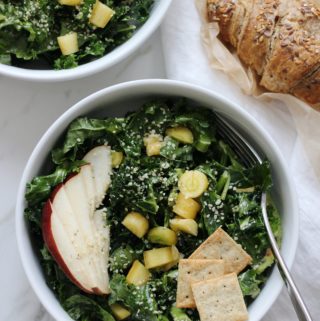
White Balsamic Kale Salad
Easy Mediterranean Tuna Salad
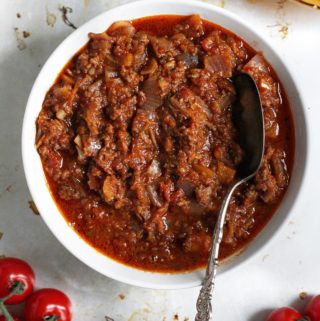
Easy Meat Sauce (Paleo + Whole30 Friendly)
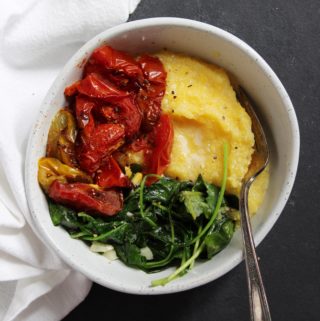
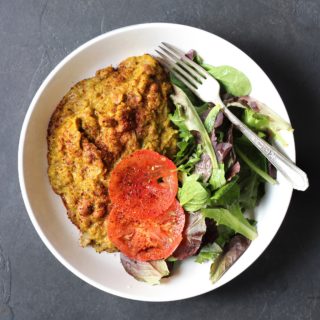
Roasted Tomato and Power Greens Polenta Bowl
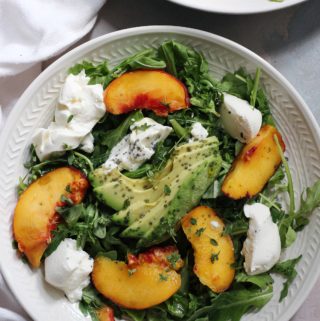
Peach, Ricotta, and Avocado Salad with Thyme, Basil and Arugula
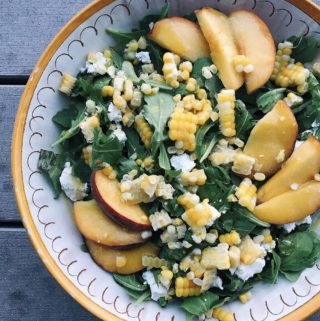
Easy Arugula, Peach, Goat Cheese and Sweet Corn Salad
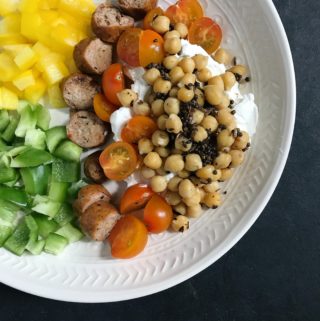
Easy Indian Spiced Chickpeas
Buckwheat Galettes (Crepes) with Prosciutto, Parmesan and Kale
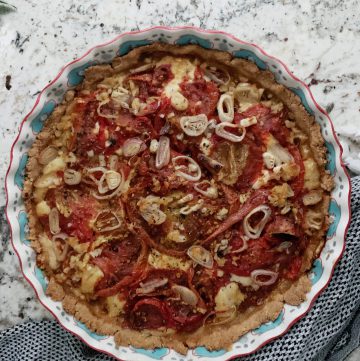
Roasted Tomato, Parmesan and Garlic Pie with a Paleo Crust
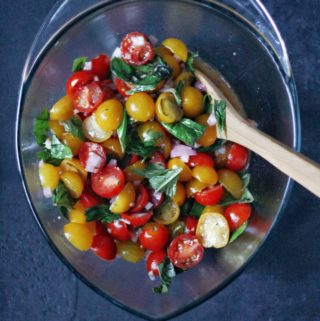
Easy Summer Tomato Salad
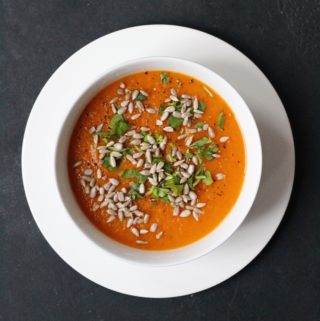
Potato, Carrot + Turmeric Soup
Paleo Smoked Fish & Lemon Spinach Quiche
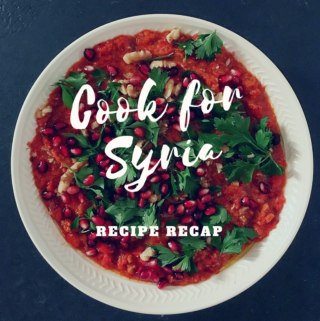
Cook for Syria
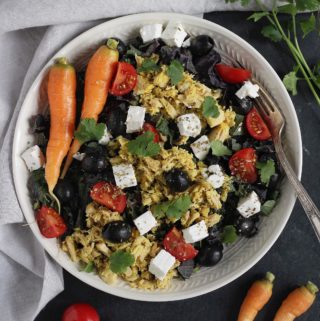
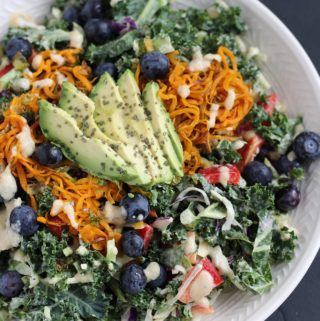
Kale, Sweet Potato and Blueberry Salad with Maple Tahini Dressing
Porotos Granados
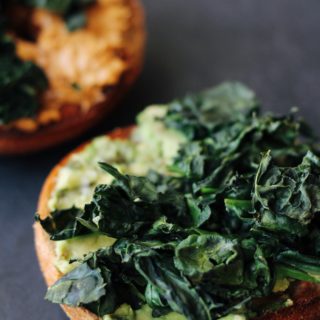
Crispy Kale Sandwiches
Cheddar, Jalapeno and Scallion Scones (Lactose Free!)
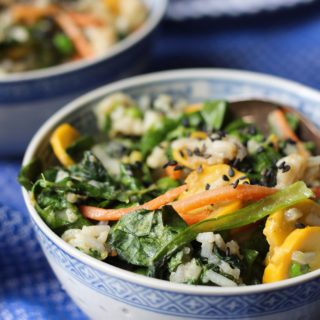
Pantry Clean Out Curry Stir Fry
Go to page
1
Go to page
2
Go to
Next Page »